
Google’s Exchange Bidding, EBDA, is a great feature that has recently opened up to all sites with an Ad Exchange account. In this article I will explain how you go about setting it up inside your Ad Manager, formerly know as your DFP ad server. For a great write up about what exactly EBDA is and how it works see our article here about EBDA.
EBDA = Yield Groups
If this menu item is listed then the feature is enabled. Your next step will take you out of Google’s ecosystem and Ad Manager.
Here bidder bidder…
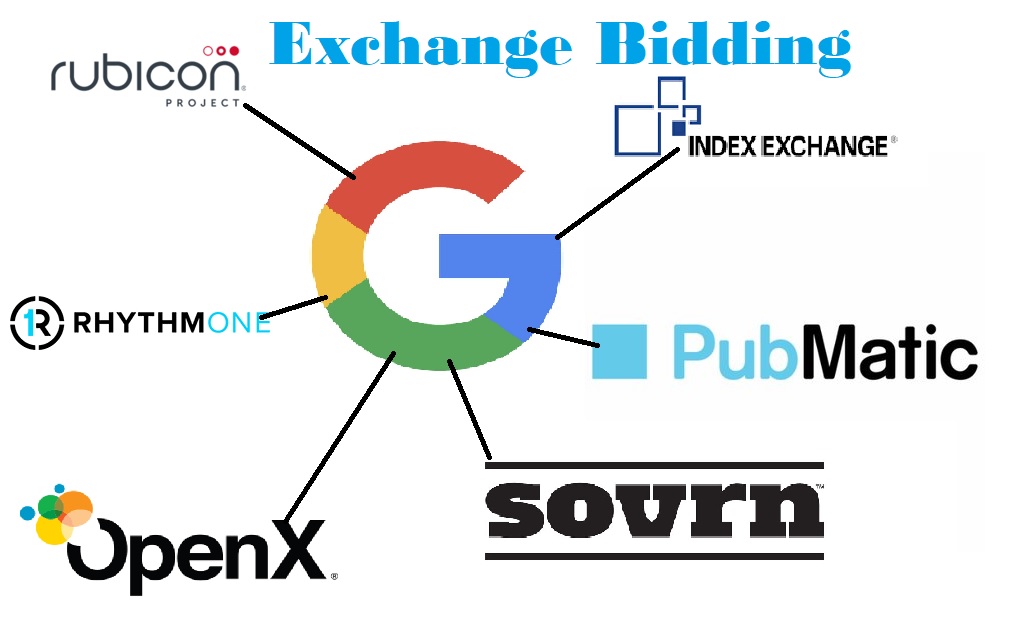
The next step is finding demand outside of Google’s Ad Exchange. If you don’t already have deals in place with other ad networks this will probably be the hardest part of the setup. Google’s EBDA is not open to all networks. There are only 15 current ad networks that are currently allowed to bid on EBDA traffic. Some of the largest Ad Networks are included so there is a good chance you are already working with them. They include OpenX, Rubicon Project, Index Exchange, Pubmatic, Sovrn, media.net, and RhythmOne among others listed below.
Show me the $$$
Once you agree to work with one of these networks, or even if you already do work with them, they will usually require an additional agreement to cover EBDA. This is important from the network side because there is a major difference in how they are doing business on EBDA. One of the best parts of working with EBDA is that all your payments are coming from one source, Google. If you are a veteran of Header Bidding, or any other system where you are working with a handful of other networks, you know that the biggest headache is chasing down all your payments. Not to mention having to keep track of different payment schedules. Google is now giving the benefit of increased demand but none of the increase in billing costs. The Finance department will love you!
Compny Setup
Add a new company to your list by Clicking on the New Company button and selecting Ad Network.
After selecting Ad network you will get to the screen below. There is a drop down selection for all the known ad networks in Google’s system. Begin typing in the name of the network that you would like to add.
After selecting the name of ad network, in our example Index Exchange, you will get to this screen with additional options. These options only appear for networks that are already working with EBDA.
The option to Enable for exchange bidding is the critical part. This needs to be selected to allow them to bid on your inventory. Once you click on Enable for exchange bidding a new window will open up.
Google gets a little scary here. Don’t just willy-nilly click on the Enable button without having all your ducks in a row with the ad network. Google reserves the right to remove your eligibility for EBDA. What is Google getting all worked up about? I think this is due to clicking on acknowledge will immediately trigger all your proprietary bidder and targeting information to be sent to the ad network. Therefore, they want to make sure that you actually are sending it to the correct network.
Once that is in place you are ready to move on to setting up your Yield group. I will cover setting up the Yield group in Part 2.